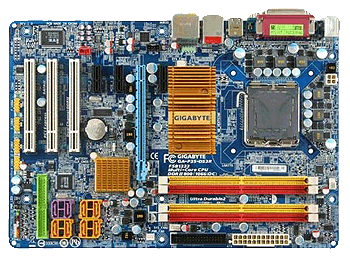
There are two SATA controllers on the motherboard. The Intel SATA interface and the Gigabyte (JMicron) SATA interface. In order for AHCI to work with the Intel SATA interface, you must install the drivers at Windows install time or you can perform a hack after Windows is installed. Here is what you need to do for a clean install of Windows XP x64:
- Make the Windows x64 “pre-installation” driver floppy disk for the Intel SATA controller. You can get this off the Gigabyte website with the other motherboard drivers.
- In the BIOS enable AHCI for the Intel interface but set the Gigabyte SATA interface to “IDE” mode. If you don’t set the Gigabyte interface to “IDE” mode then the Windows setup program will not see drives connected to that interface.
- Boot off the Windows XP x64 installation CD and press “F6” when the installation program prompts to do so in order to install the Intel SATA interface drivers off the driver floppy disk you made in step one.
- Complete the installation of Windows XP x64.
- Download the Gigabyte SATA interface driver from the Gigabyte website and install it in Windows. Then reboot the computer.
- When the computer reboots, enter the BIOS
- Enable AHCI for the Gigabyte SATA interface and then save the change.
- When Windows XP x64 boot, it should recognize the AHCI mode of the Gigabyte SATA interface and install the drivers. Then it will prompt you to reboot.
- After Windows XP x64 reboots, the Gigabyte SATA interface will now be in AHCI mode.
