Installing Windows XP x64 with AHCI Enabled on a Gigabyte GA-P35-DS3R Motherboard

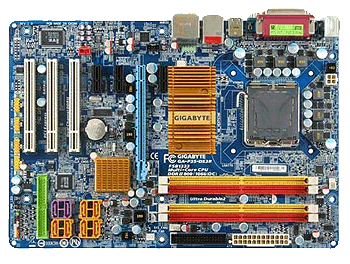
There are two SATA controllers on the motherboard. The Intel SATA interface and the Gigabyte (JMicron) SATA interface. In order for AHCI to work with the Intel SATA interface, you must install the drivers at Windows install time or you can perform a hack after Windows is installed. Here is what you need to do for a clean install of Windows XP x64:

  1. Make the Windows x64 “pre-installation” driver floppy disk for the Intel SATA controller. You can get this off the Gigabyte website with the other motherboard drivers.
  2. In the BIOS enable AHCI for the Intel interface but set the Gigabyte SATA interface to “IDE” mode. If you don’t set the Gigabyte interface to “IDE” mode then the Windows setup program will not see drives connected to that interface.
  3. Boot off the Windows XP x64 installation CD and press “F6” when the installation program prompts to do so in order to install the Intel SATA interface drivers off the driver floppy disk you made in step one.
  4. Complete the installation of Windows XP x64.
  5. Download the Gigabyte SATA interface driver from the Gigabyte website and install it in Windows. Then reboot the computer.
  6. When the computer reboots, enter the BIOS
  7. Enable AHCI for the Gigabyte SATA interface and then save the change.
  8. When Windows XP x64 boot, it should recognize the AHCI mode of the Gigabyte SATA interface and install the drivers. Then it will prompt you to reboot.
  9. After Windows XP x64 reboots, the Gigabyte SATA interface will now be in AHCI mode.

Gigabyte GA-P35-DS3R Motherboard

Linksys Router Freezes When Playing Streaming Videos

The Linksys Wireless Router Model BEFWS11 Rev. 4 has a problem where it will freeze up when you try to play streaming Windows Media Player files on the Internet. Upgrading to the latest firmware (1.52.02) does not fix this problem. The solution is to go into Windows Media Player and disable the following streaming protocols: Multicast, UDP, and TCP. Just leave the streaming protocol “http” enabled.

Linksys Router

How to Install Flash Remoting for ActionScript 2 Library Files Into Flash 9

Flash 9 includes Flash Remoting for ActionScript 3 but it does not include Flash Remoting for ActionScript 2. So if you have Flash projects developed in ActionScript 2 you can’t compile them in Flash 9. Here is how to install the Flash Remoting for ActionScript 2 library files into Flash 9:

  1. Copy the library files from Flash 8 or download the library files directly from here: Flash Remoting For ActionScript 2 Library Files
  2. Copy the contents of the zip file to a new directory created inside the directory: C:\Program Files\Adobe\Adobe Flash CS3\en\First Run\Classes\
  3. Add this new directory to the ClassPath for ActionScript 2
    1. In Flash 9, click Edit | Preferences… | ActionScript | ActionScript 2.0 Settings…
    2. Click the button with the “target” icon in order to browse to the path of the folder you created in the previous step.
    3. Press OK to commit the changes

Code